Showing posts with label Vegan Makeup. Show all posts

Monday, February 11, 2013

Lucky Brew

Hello again, Madd Cats! What on EARTH is this, three posts in three weeks? You'd almost think I'm back on my game or something.

Today's tutorial features not only the "Luck Potion" from the "Love Potions" collection over at Madd Style, but it also features my new Bdellium green bamboo smokey eye brushes!


Products used: IT Cosmetics Hello Lashes mascara, UD 24/7 in Perversion, NYX shadow base in white, MSC Optimus Primer, Witch's Brew, Steampunk, Acid Bath, and Luck Potion.


Bdellium green bamboo smokey eye brushes, numbers 777, 769, and 781


Prime, prep, and line your eye.


Pick up some Acid Bath on your 781 brush.


Apply to duct.


With your 769 angled contour brush, pick up some Witch's Brew. I love this colors, it's so many colors in one. Forest green, golden yellow, deep gray... it's MAGIC.


Apply to inner 2/3rd's of the lid.


Back to the 781 with your Steampunk.


Hit up that outer 1/3rd and cut your crease with the Steampunk.


Now, with your 777 brush, pick up some Luck Potion.


Dust that over your brow, and gently blend down into the rest of the eye.

Here you can see how it has an almost teal shift to it.


Lime green sparkles on the inner brow.


The entire look together.  Perfect night look when you want something that will really stand out in the crowd.

Stay Madd, Darlings!

Thursday, February 7, 2013

Curious Soul

I've been trying desperately to get out of my makeupless funk lately, so I decided to ask some of the fabulous Madd Style fans for color suggestions for my latest tutorial.  Soul Dust was number one on the list.

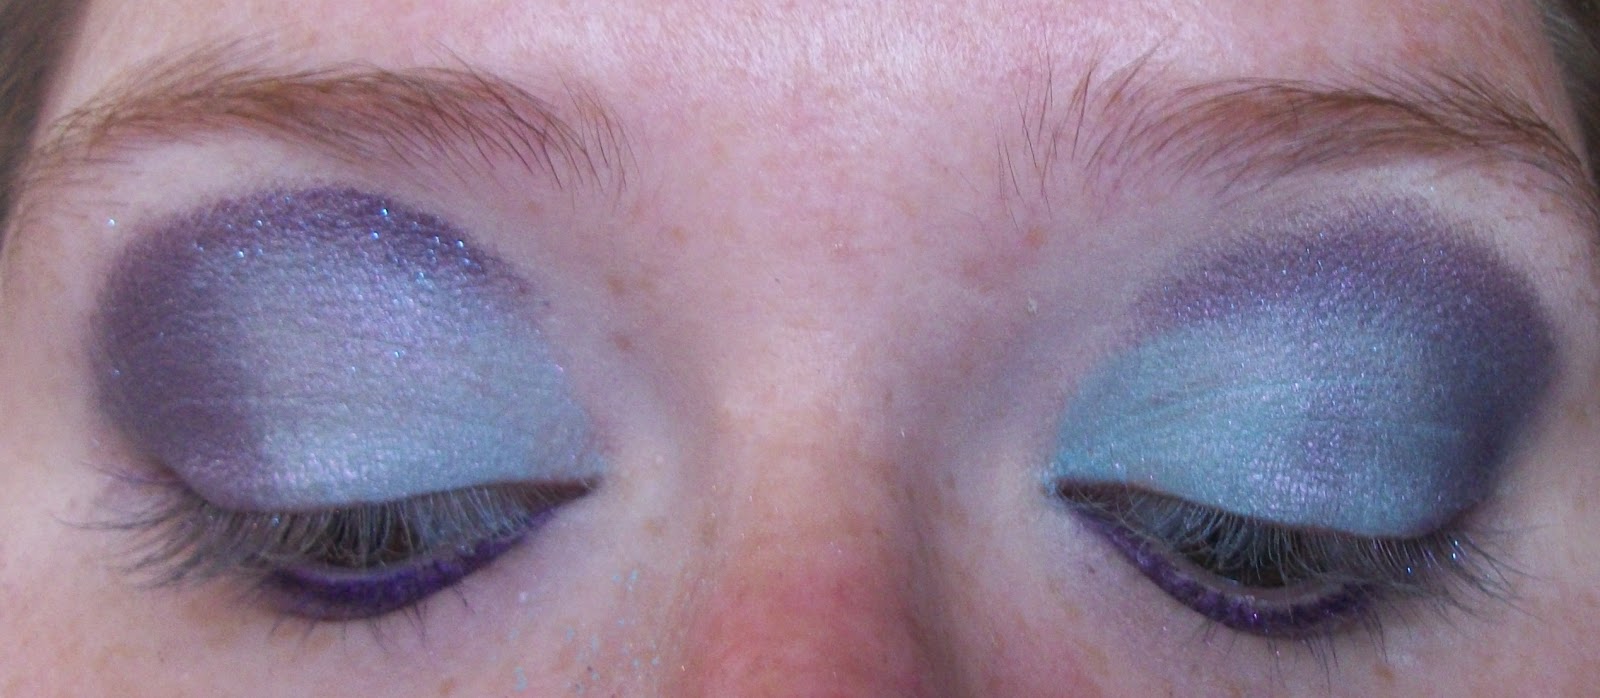
Here I'll pair it with Curiouser and Curiouser from the Alice in Wonderland collection, as well as Giggleberry.


Assemble your brushes. Top to bottom: fluffy shadow brush, tapered crease brush, angled shadow brush, fluffy blending brush.


Assemble your products! Top to bottom: IT Cosmetics "Hello Lashes" mascara, UD Psychadelic Sister liner, UD Perversion liner, MSC Optimus Primer, Curiouser & Curiouser, Soul Dust, Giggle Berry, and NYX shadow base in white.


Apply your primer and base to a nice clean eye.  Remember, if it's been a bit since you've washed your face, a wet wipe is a good way to just touch up and remove the oil that may have accumulated since your shower in the morning.


Tight line your lower lashline with Psychadelic Sister.


Grab your Soul Dust. This is such an awesome color. As you can tell, it's a lovely blue with a red color shift and red sparkle. It's hard to capture on camera, but trust me, it's amazeballs.


Apply with your fluffy shadow brush by patting it on to the inner 3/4th of your lid. You can kind of see the red shift of the Soul Dust in this photo.


Grab that tapered crease brush! Grab that Curiouser & Curiouser! Curiouser & Curiouser is a lovely plummy purple with aqua sparkles. Also, I love this brush, it's so incredibly versatile and it's synthetic, too!


Pat C&C on the outer corner of your eye, and cut that crease with it. If you enlarge this photo, you can see the aqua sparks.


Use your fluffy blender to gently, gently blend C&C into Soul Dust.


With your tapered shadow brush, you want to apply Giggle Berry with a gentle sweeping motion from your tear duct to your brow as a highlight. Don't blend it down into C&C much at all.


You'll notice that after blending, the aqua in C&C really plays off the Soul Dust, and the pink in Giggle Berry brings out the red. 

You're also going to put a little bit of Perversion over the Psychadelic Sister at this point, just to tone it down a bit. 


Add your mascara...


Glance over at the dog...


And Voila! An awesome multi-dimensional look with some kick ass colors!

Friday, February 1, 2013

Dark Cupid - red and black look

So, the request was recently made for a red and black look. I agonized over what direction I wanted to take this in.. go superdark and goth, make it smokey, more red than black... Finally, I decided on a smoky black with red.


This WILL be a glasses tutorial.


Assemble your products. IT cosmetics mascara, NYX Shadow base in white (Quick note here - you reall need a black base for this look, but I don't have one and desperately need base, so this had to do.)UD 24/7 in Perversion, and MSC Optimus Primer, Ruby, Winter Rose, and Stormhold Ruby.


Glasses! Brushes! Top to bottom: fluffy shadow brush, medium angled shadow brush, sharply tapered pencil brush, medium contouring brush, large contouring brush, fluffy medium shadow brush.


Put on your primer and base.  I used just a touch of base, because I really didn't want the colors of this to be changed, I just needed that little extra "stick" for these colors


Line your waterline with UD 24/7.


Pick up some Winter Rose with your medium contour brush.


Pat liberally into your duct area.


Time for some Ruby. Pick up a good amount on the angle of the brush.


Apply to 2/3's of your lid, extending above your natural crease.


With your stiff, tapered pencil brush, pick up a good amount of Stormhold Ruby.


Keep your medium shadow brush on hand.


Do the same with your large contour brush.


DRAW IN your Stormhold Ruby.  Don't worry, it's a hot mess at first.


Use your shadow brush to gently bring in the sStormhold Ruby and distribute it on to the outer 1/3rd of your lids and into the crease.

You want your end result to look like so.


Add your glasses, and you're ready for a sexy valentine's night out!

Friday, January 4, 2013

Zombiegasm: A tutorial

What's this, you say? Halloween is over?  You don't need Halloween to have Zombies!!!  Blarggghhhh!!! Braiiinnnssss!!!!!

On to business.


Assemble your products. NYX Shadow base in white, MSC Graveyard Garden from the Alice in Zombieland collection, The Zed Word, and You've Got Red on You (the last two from the Shaun of the Dead collection,) MSC Optimus Primer, UD Perversion liner, and IT Cosmetics mascara.


Assemble your brushes. Lash comb, Floofy blending brush, tapered crease brush, domed shadow brush, and angled shadow brush.


Start with a clean face! Since it's midnight, I used a baby wipe on my whole face (including lids,) to just wipe away any oil or goop from the day.


Now apply your Optimus Primer and NYX Shadow base, in that order.


Line your lower lash line with UD Perversion. You want a medium-thickness line.


Tap out a bit of The Zed Word and pick it up on your angled shadow brush.


Apply The Zed Word to your ducts, bringing it gently down to your lower lash line.  Please note, this color is a light champagne with a pink shift, so it's hard to photograph.


Next, take You've Got Red On You and pick it up with your tapered crease brush.  I rarely use this brush for my crease, instead preferring to use it to create mid-lid columns.


About those columns.  Mid lid with a good amount of coverage. Like, expect a little fall-out.


Now, using your domed shadow brush, pick up some Graveyard Garden. (LOL, I typed "Gravetard garden" twice.) Again, you want enough on your brush to create a deep coverage on your lid.


Apply with a slight curve on the outside of your lid.  Don't worry about it being messy.  That's what fingertips and blending are for. Oh, and I promise you, everyone who works with loose pigments has eyeballs that look like this before they begin to blend and clean up.  It's inevitable.


With your floofy brush, pick up a bit more of The Zed Word.  This time you're going to pick up quite a bit, since you're going to use it to blend out those columns, as well as a brow highlight.


Bring it up from your duct up to the brow, and then blend down.  After you've softened the top of those columns, you want to use a light windshield-wiper motion to blend You've Got Red On You into Graveyard Garden.  GG is a blurple anyway, but that spot between the two is going to turn out to be this beautiful deep purple.  Again, difficult to capture.


An attempt to catch The Zed Word.  It failed.


A better, if yellowish, look at the blending.


Finally! A good shot of that purple and The Zed Word!


Add your mascara...


Put your glasses on, and voila! You're set!